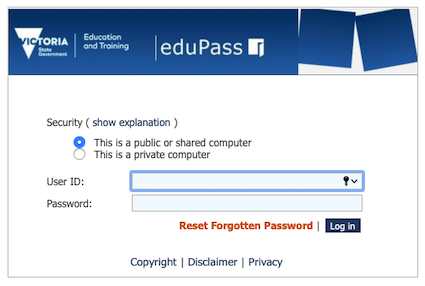
| 1. Login to eCases Portal using your DET Employee number and DET Password |
| 2. Go to Create Purchase Requisitions > Purchase Requisition Entry > New |

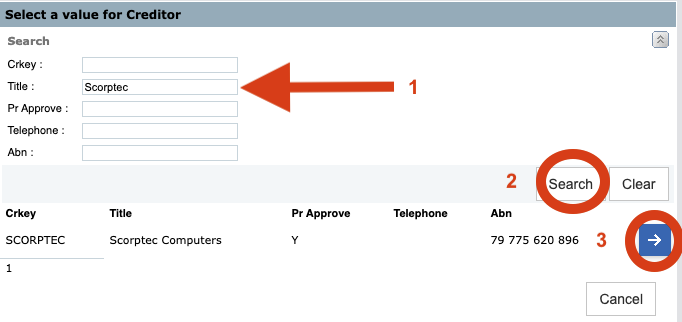
| 3. Select the Search Button |

| 4. Search or lookup the Creditor (i.e, Scorptec) > then Select the Creditor (If you cannot find the Creditor, contact the Administration Office |
| 5. Save will get the next Requisition Number, save the data, then return the screen to the previous page. Update will get the next Requisition Number, save the data but stay on the current page |
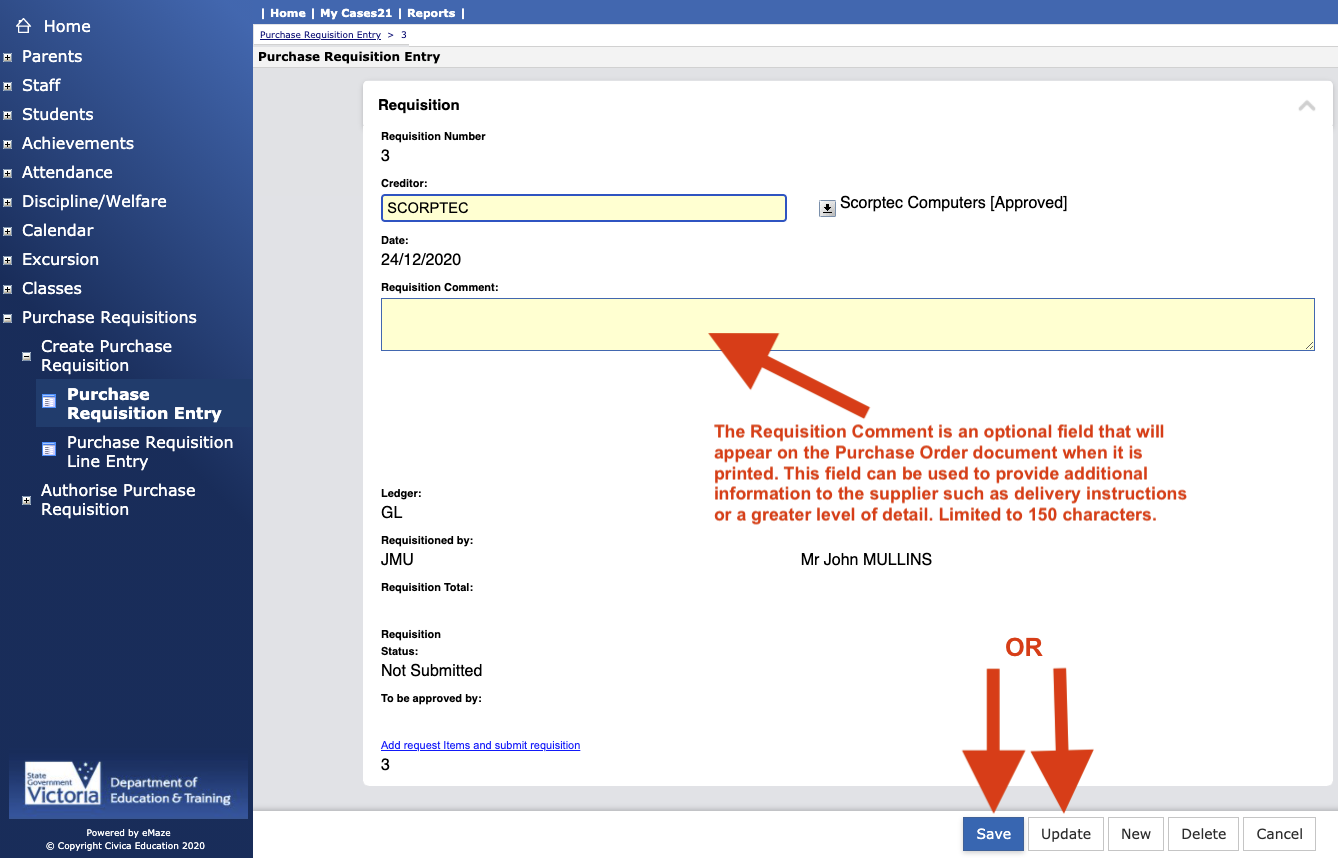
| 6. Click Add request items and submit requisition link. |

| 7. Initially you will see a screen that informs you that no lines exist yet for this requisition. Click New |

| 8. Any number of lines can be added. Each line has three mandatory fields to be completed. These are • GL Code <Press Update> • Sub Program <Press Update> • Initiative <Press Update> • Description • Quantity • Cost (ex GST). |
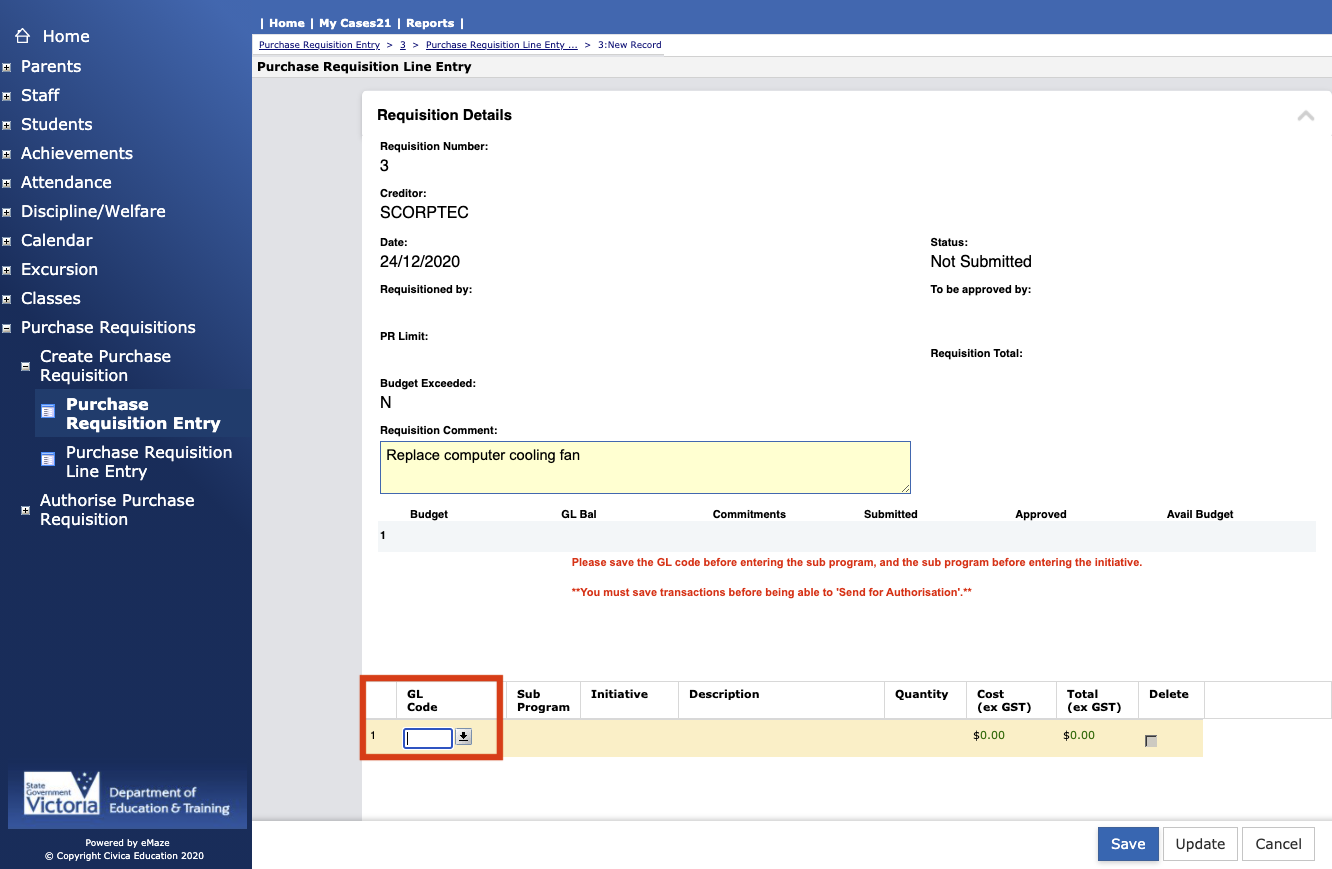

| 9. Sub program, this will be a list of Sub program codes linked to the GL code the user entered. Note: The line item must be saved after entering the Sub Program, so that the initiative field will be refined to only those linked to that Sub Program in the CASES21 budget screen. Until this is done, the initiative field will be disabled. |

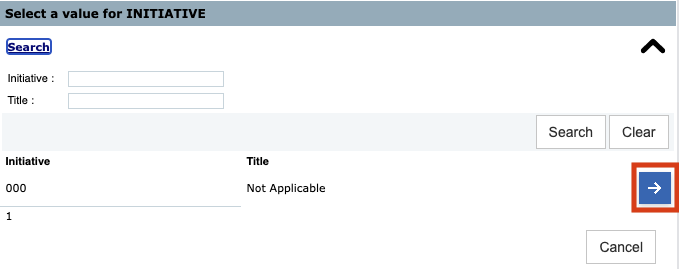
| 10. Initiative, this will be a list of initiative codes linked to the sub program code in the CASES21 budget screen. |
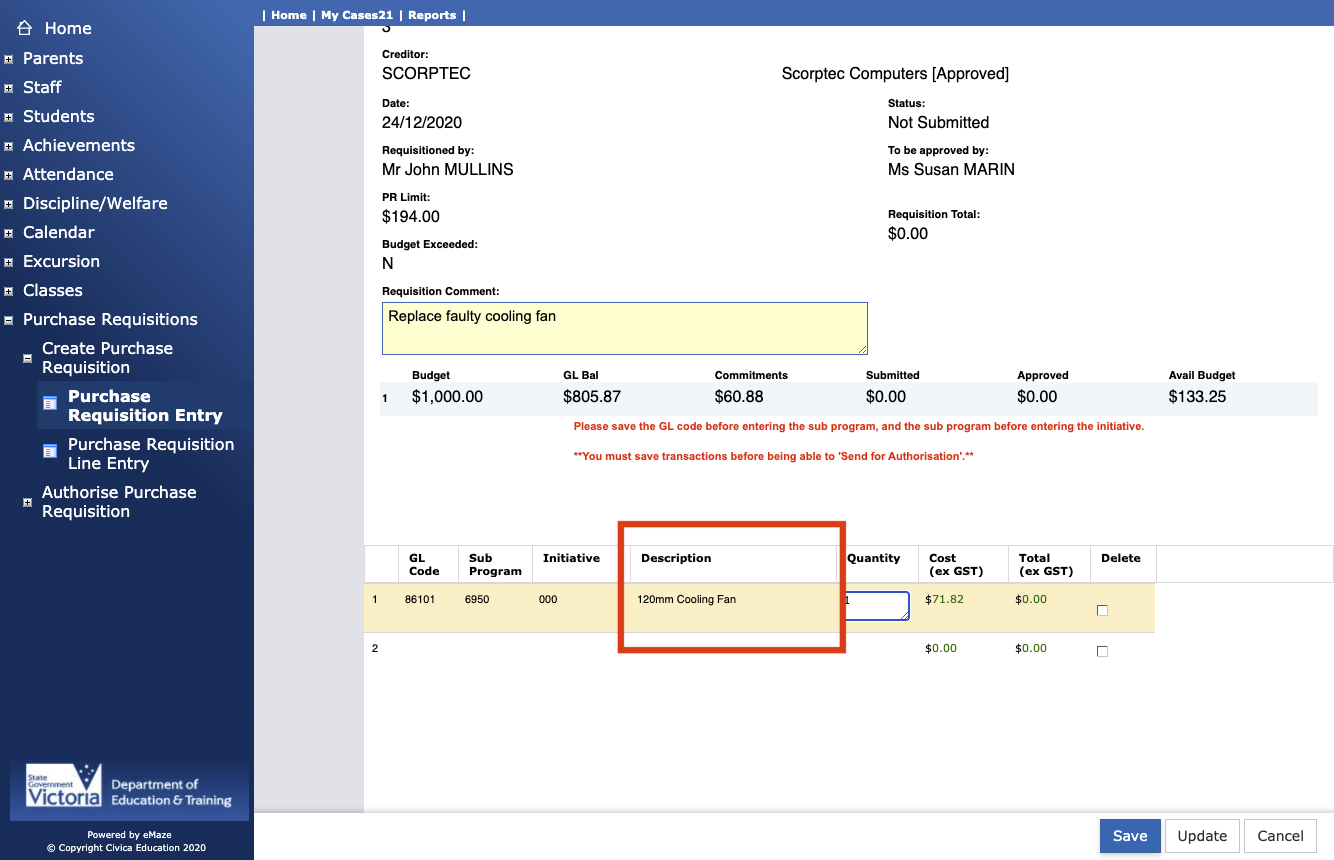
| 11. The Description is limited to 30 characters to maintain consistency with the financial system |
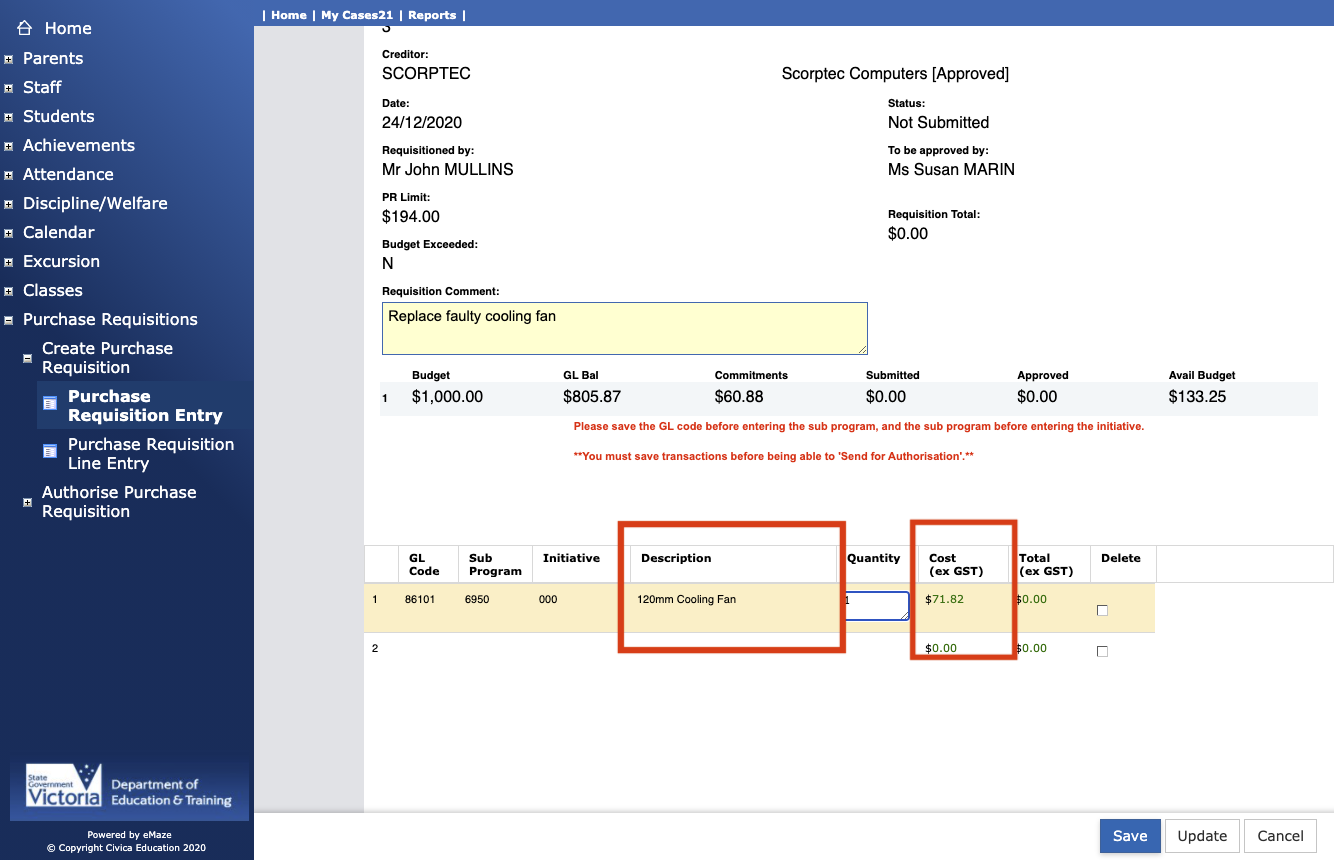
| 12. The unit Cost does not include GST. GST will be added at a later point in the purchasing process (if required). |
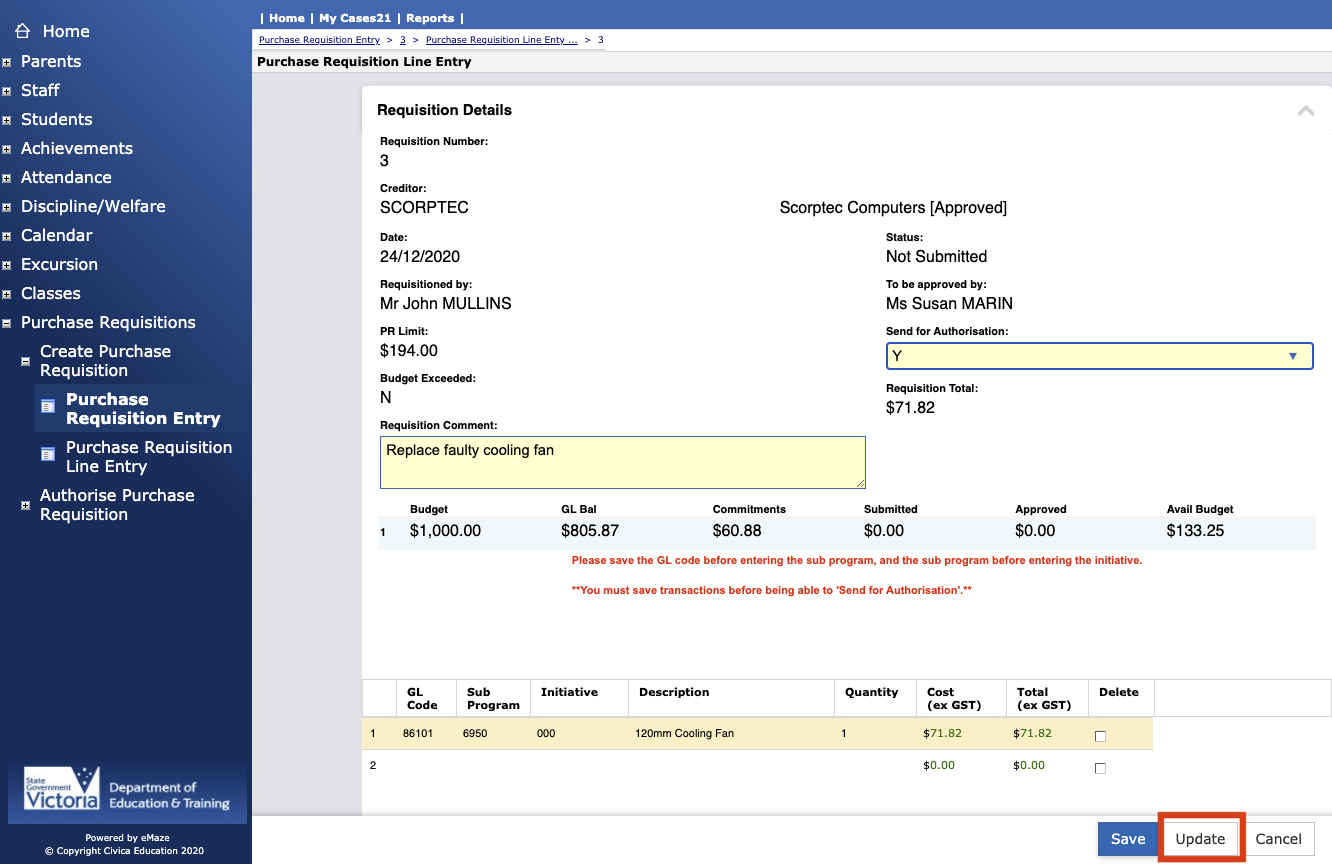
| 13. After adding each line in the requisition, you must click Update to add this line. By selecting Update, eCASES will update the Total for each line and the Requisition Total, and create an additional line for any new items. Click Update |

| Note: Details of the Requisition can be modified at any time until the Requisition has been submitted for approval. Once it has been submitted the Requisition is ‘locked’ and no further changes are permitted. |
| 14. Once all the details have been entered for a requisition it must submitted for approval. This is done by selecting “Y” the “Send For Authorisation” field. |

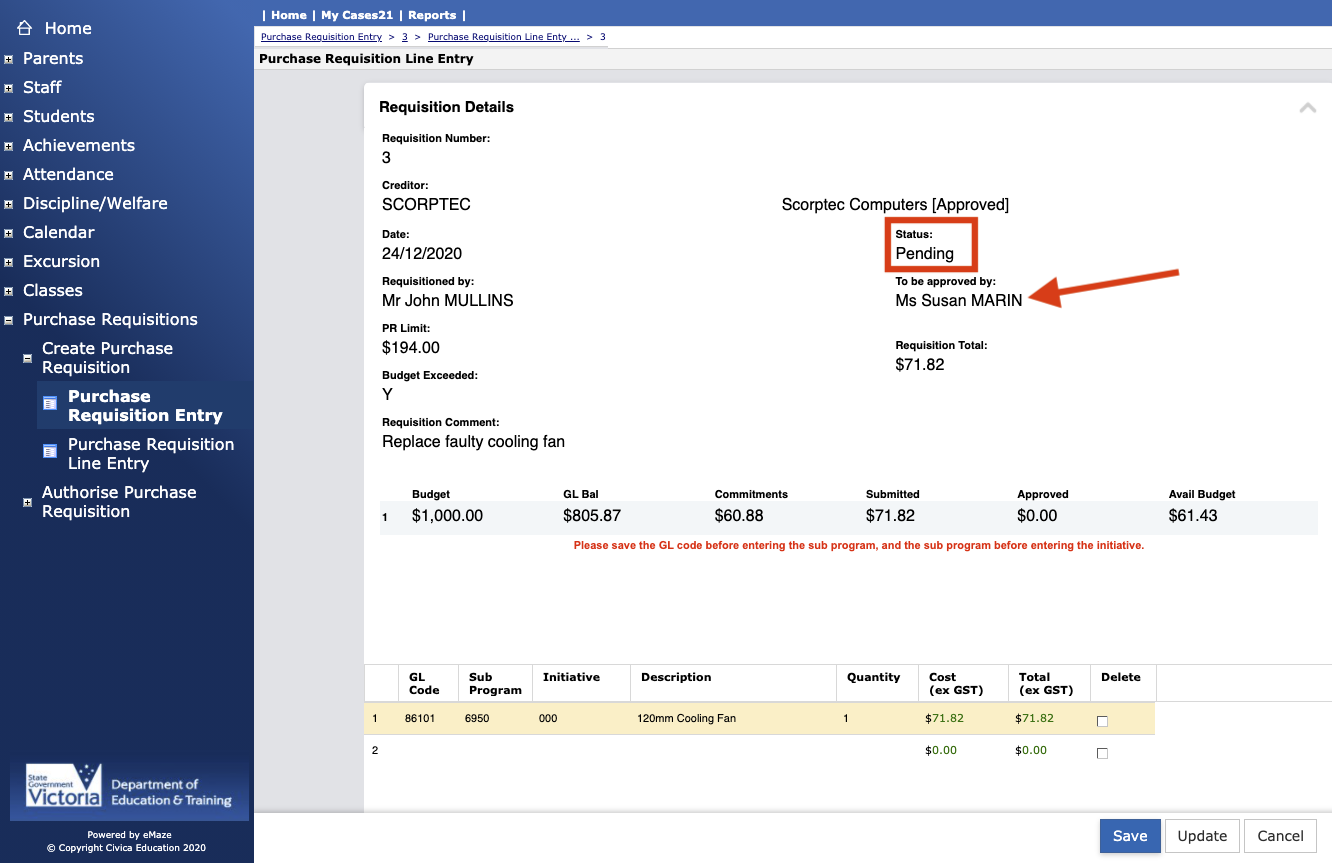
| 15. Click . The requisition will now have a status of Pending and can be viewed, but not edited. |
| 16. When the requisition is submitted, eCASES will determine who the correct Authorising Officer is and send an email to that person. A copy of the email is also sent to the submitting staff member for their records. The identity of the person who must approve the requisition is shown and the Status is changed to ‘Pending’ to indicate that the requisition has been submitted for approval. |
| Full Purchase Requisitions Guide (below) |
